Spring has almost sprung and the snow has almost left us for another wonderful spring season! The best time to decorate your mantle for Spring!
Check out some of my finds! Please be sure to visit these wonderful ladies!
Easter Mantle over at The Diary of Daves Wife
Easter Mantle over at 52 Mantles
Spring Mantle over at Sassy Sanctuary
I love reveals of rooms and nooks....I am a huge fan to see the transformations made by a designer's creative abilities.
Have you seen this pantry makeover by The Inspired Room?
I can't even begin to tell you which part I like the most.
Its everything.
The baskets, the chalkboard labels, the open jars....or the fact that she used IKEA.
Be sure to head over and check out the entire reveal on her blog!
{LoVe}
Last week's challenge from DIY with Three Series was the Plastic Bag Wreath using three supplies of plastic bags, a wire coat hanger and fabric/ribbon.
The challenge has been pinning like crazy on Pinterest with a few peeps completing the challenge too!
{Spring Egg Door Hanging}
I would love to see your creations too! Post them to your blog with a link back to Renovating 519 and I will pin them to my Pinterest page!
This week's challenge, which starts today includes a gluegun/scissors, a basket, and plastic eggs! Just in time for Easter!
I would love to see what you create! Feel free to post on your blog with a link back and join my Renovating519 Facebook page too!
A you a No-Reply Blogger?
Are you wondering why you never see comments sent to you in response to a comment made on a blog?
I never even knew until a fellow blogger brought it to my attention! {Thankyou}
Check out this easy peasy tutorial over at Anyone Can Decorate!
We are on Facebook! Follow this link!
I completed a fun project to showcase my girls pictured together. I wanted to be sure I tied in the fabric I used, together with the rest of the room. I love how it all came together!
Simple, economical and cute!
The frame I found at a local thrift shop for $2. It had an awful looking picture in it but the frame was a great condition. After spray painting in black, I lightly sanded the edges to give it a light, chippy feel. Luckily, the frame was already painted gold {yikes!}, so the sanding affect was easy to acheive.
The fabric was a piece left over from my big livingroom window curtains from IKEA! I stapled it to the back of the fabric and the last little bit of the fabric made some rolled flowers to add to the corner of the small frame.
The smaller inside frame I picked up from the Dollar Store. Picking my favourite pic of my girls together was a tough one and I wanted just the right one. The frame was so easy to hang, as there was already a small hook in place that was already centered.
You know the wood text you can pick up from the local Dollar Store or craft store? Painted black and hot glued to the frame, she is finished!
{Never pass up the opportunity to stock up on words or individual letters, you never know when you will need them}
LINKING UP TO
Southern Lovely
Clean and Scentible
Creations By Kara
Home Happy Home
Interested in completing weekly challenges for yourselves using limited supplies called
with the DIY with Three Series.
The first challenge was to use plastic bags, a wire coat hanger and pastel ribbon or fabric.
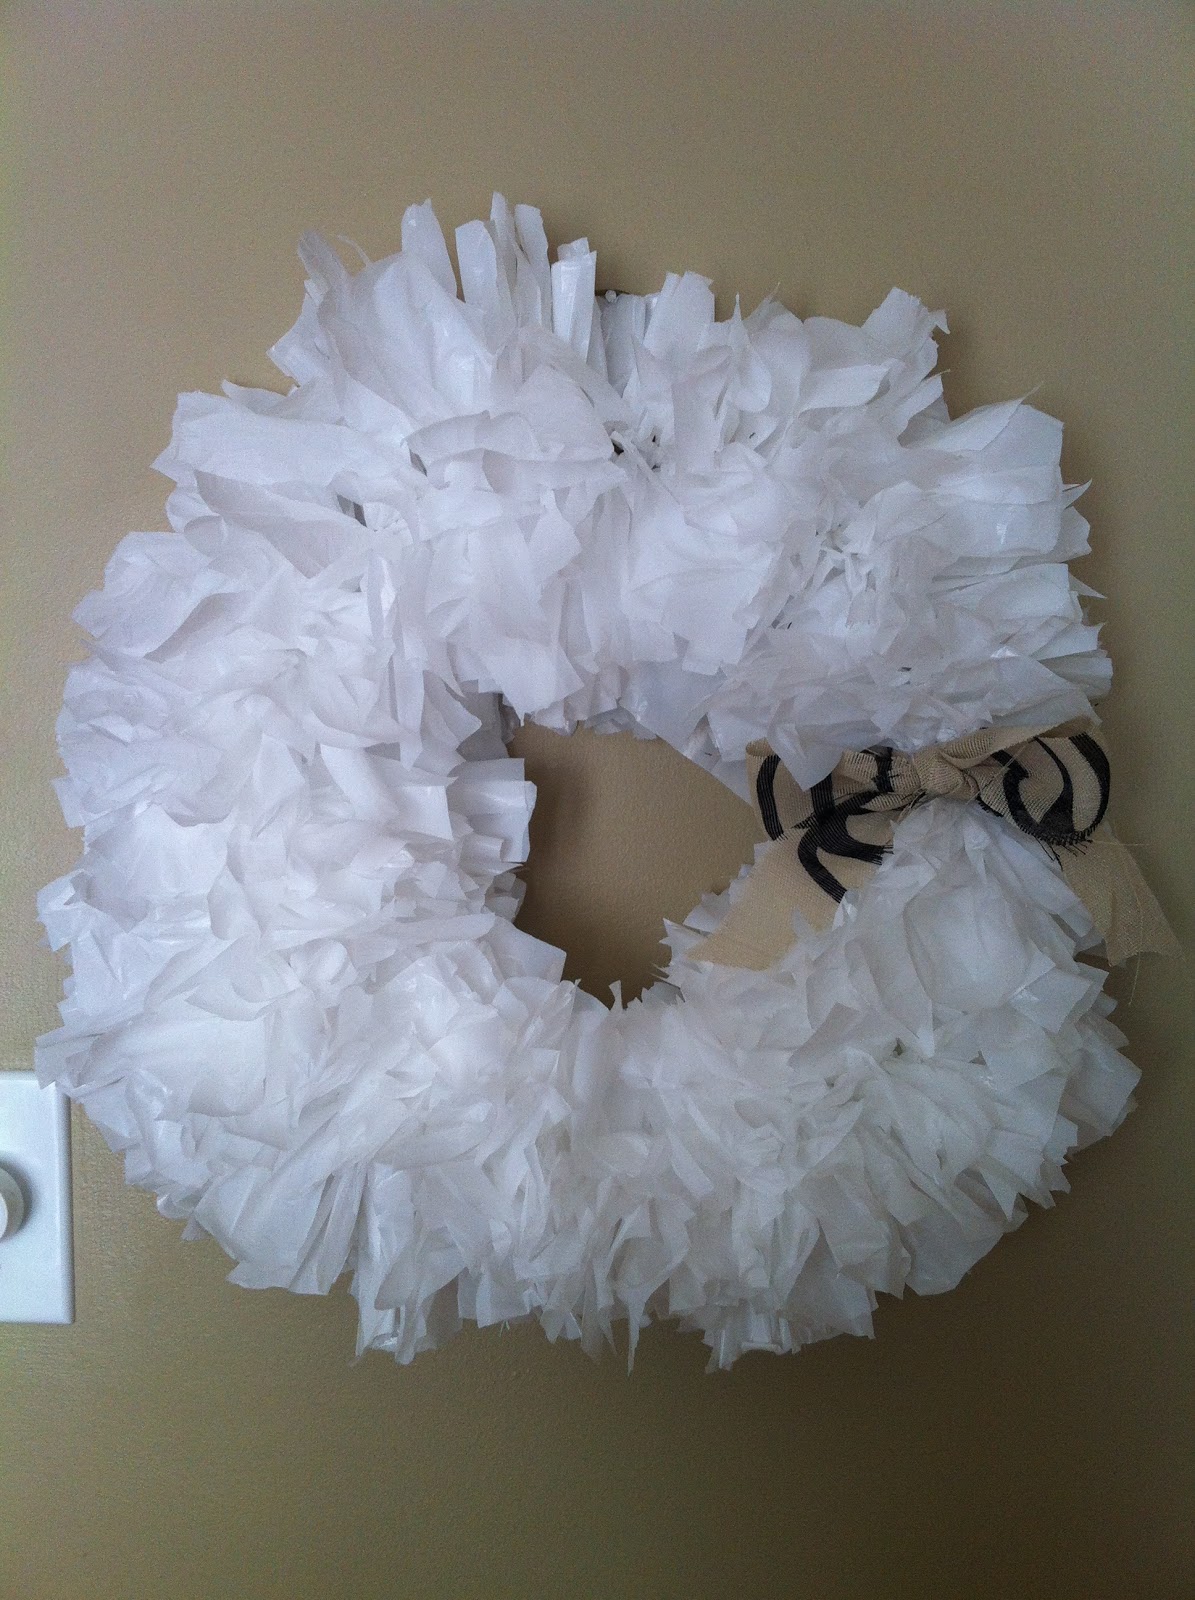
I knew I wanted to make a wreath for spring. I had seen lots of variations of ones a few years back online, so this was the perfect opportunity to make one!
Shape your coat hanger in the shape of a circle.
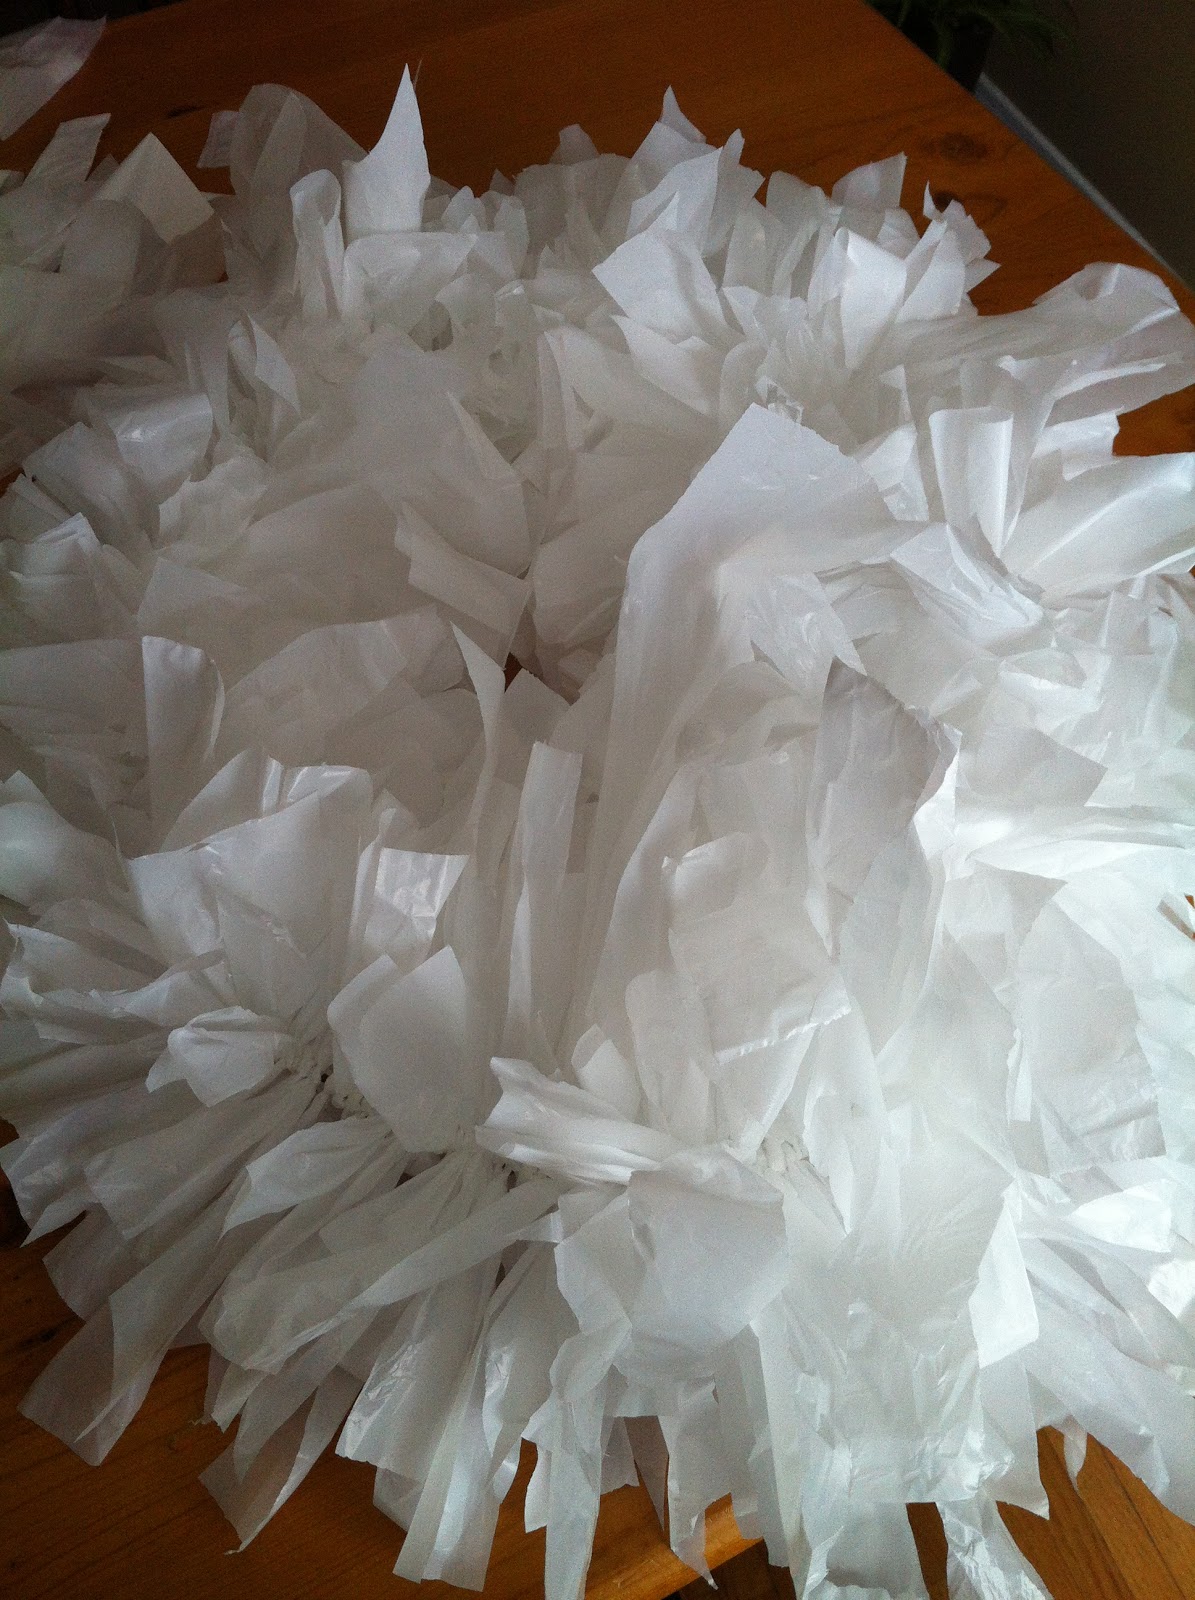
Cut your plastic bags in stips about an inch thick and about 5 inches in length.
Start tieing them around the coat hanger. I kept my ties snug because I wanted a fuller looking wreath.
Once your have tied all of your plastic strips, place it on your wall and start to trim back strip that seem too long and are out of place.
Add a bow or strip of fabric, choose the center for placement or off center like the one I made.
 LINKING UP WITH!~
Not Just A Housewife
BoogieBoard Cottage
LINKING UP WITH!~
Not Just A Housewife
BoogieBoard Cottage
 New to the blogger world, and brought to you by the same design brains from AKA Design! Blogger Homes!
Take the tour on their new site, which is so fresh and new!, then submit your personal space to be featured! Check out past features, browse by category and sign up to receive their newsletter right to your inbox {like I did}! Been featured Be sure to grab their stylin' button to display on your blog/website!
Here is my favourite image for inspiration, which also happen to be from Shannon and Dean from AKA Design too.
New to the blogger world, and brought to you by the same design brains from AKA Design! Blogger Homes!
Take the tour on their new site, which is so fresh and new!, then submit your personal space to be featured! Check out past features, browse by category and sign up to receive their newsletter right to your inbox {like I did}! Been featured Be sure to grab their stylin' button to display on your blog/website!
Here is my favourite image for inspiration, which also happen to be from Shannon and Dean from AKA Design too.

<


 <
<


